If you’re weighing up electric underfloor heating pros and cons, the short version is this. It’s cheap to install, warms a room evenly and takes up no wall space, but it costs more to run than gas central heating or a water based system, and it isn’t always the best choice for heating a whole house. Which option suits you depends on the room, your floor build up and how you plan to use it.
This guide walks through how electric underfloor heating works, where it genuinely pays off, where it falls short, and how it compares with water (wet) underfloor heating systems, which are usually installed within a liquid screed floor.
How electric underfloor heating works
Electric underfloor heating, sometimes called a dry system, uses a thin heating cable or mat installed just beneath the floor covering. It’s wired into the mains and controlled by a thermostat, so each room or zone can be switched on independently. There’s no boiler, no pipework and no manifold involved, which is part of why it’s popular for bathroom and kitchen renovations.
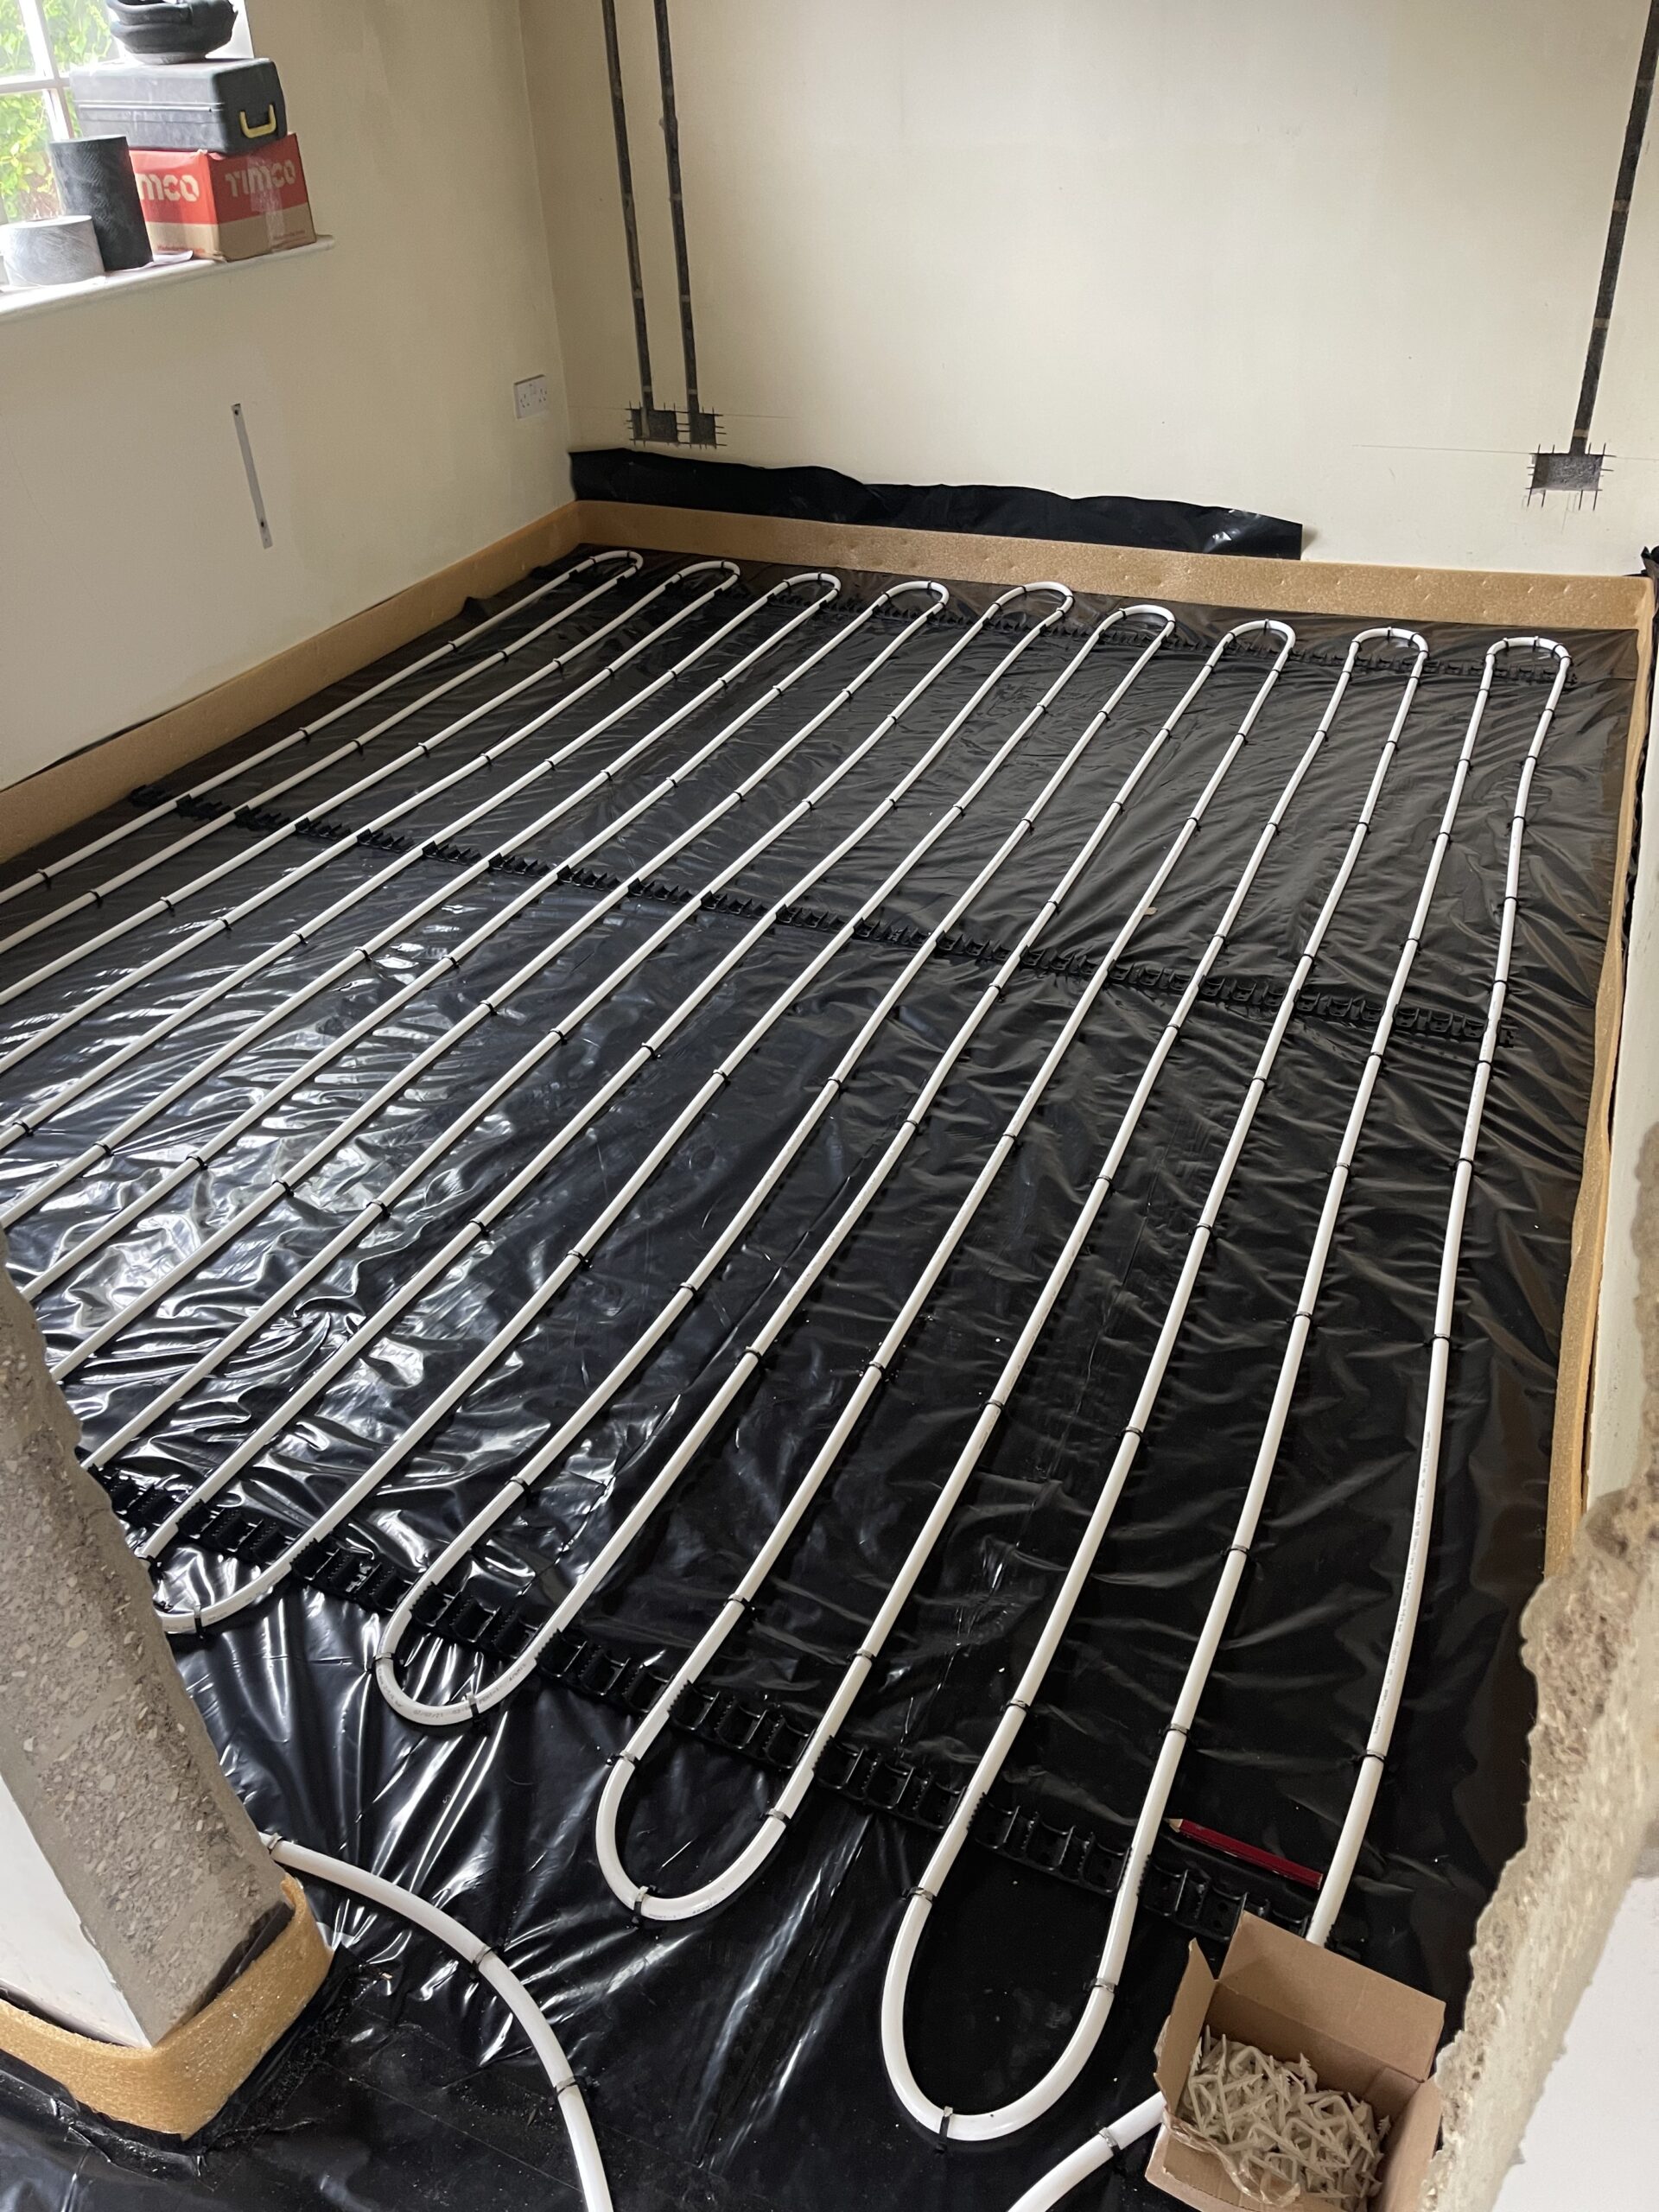
Water (wet) underfloor heating works differently. It circulates warm water through a network of pipes, usually fed by a boiler or heat pump, and those pipes are typically embedded in a liquid screed floor rather than the traditional sand and cement mix. We’ll come back to how that comparison plays out below.
Pros of electric underfloor heating
Lower installation cost
Electric systems are generally cheaper and quicker to fit than wet systems, since there’s no boiler connection, manifold or pipework to install. This makes them a popular choice for single room retrofits, such as a bathroom or kitchen extension, where running new pipework would be disruptive.
Even heat, no cold spots
Because the whole floor acts as the heat source, warmth rises evenly through the room rather than radiating from one wall mounted unit. Which? notes that underfloor heating systems in general can run at relatively low surface temperatures, typically around 35°C, compared with 55 to 65°C for a radiator, while delivering the same level of comfort. Electric systems also heat up slightly faster than water based systems, typically within an hour to 90 minutes.
Slim profile
Electric heating mats and cables can be as thin as 42mm once installed, making them a practical option where floor height is tight, such as in a renovation or loft conversion. A water based system is bulkier, often around 130mm, though this can be reduced with a liquid screed floor build up.
No radiators, more usable wall space
With the heat source hidden under the floor, you get the wall space back for furniture, storage or simply a cleaner looking room, and there’s nothing for children or pets to bump into.
Low maintenance
Once installed, electric underfloor heating has no moving parts, no valves and nothing that needs bleeding. Faults are rare during normal use and are more likely to stem from installation damage than day to day wear.
Works under most floor coverings
Electric systems can go under tile, stone, engineered wood, vinyl and most laminates. Tile and stone conduct heat the most efficiently, while thick carpet and solid wood aren’t recommended because they trap heat or can warp.
Cons of electric underfloor heating
More expensive to run
This is the trade off that catches most homeowners out. Electric underfloor heating is generally more expensive to run than a gas fed wet system, simply because electricity costs more per unit than gas. Under the Ofgem price cap for July to September 2026, the average direct debit rate is 26.11p per kWh for electricity against 7.33p per kWh for gas, a gap of well over three times.
The Energy Saving Trust puts it plainly, dry electric systems are usually cheaper to install but more expensive to run than wet systems. For a single bathroom on a timer, that difference is manageable. As your primary heating for a whole ground floor, it adds up fast.
Not ideal as your only heat source in an older property
To work well as the sole heat source in a room, an electric system needs to cover at least 80 to 90% of the floor area, run at a minimum of 200W per square metre, and sit above proper insulation boards to stop heat escaping downwards. In an older home with solid walls, no loft insulation or single glazed windows, underfloor heating alone often can’t keep up, whichever type you choose.
Repairs can mean lifting the floor
Faults are uncommon, but if a cable does fail, a specialist engineer needs to pinpoint the break, which can mean excavating a section of flooring rather than a simple call out job. It’s worth checking what warranty or guarantee is included before you buy.
Limited scope for whole house heating
Electric underfloor heating is rarely used to heat an entire house, both because of the running cost and because most homes don’t have the spare electrical capacity for it without upgrades. For whole house projects, a water based system fed by a boiler or heat pump is the more common and more cost effective route.
Electric vs water underfloor heating: which is right for you
Neither system is universally better, it depends on the scope of the project.
Electric underfloor heating tends to make sense for smaller, self contained areas such as a bathroom, ensuite or kitchen extension, particularly where a wet system would mean disruptive pipework and where the room already has central heating covering the rest of the house.
Water underfloor heating usually wins out for new builds, extensions and full renovations, especially where the property is being fitted with a heat pump. Because heat pumps run most efficiently at lower flow temperatures, and underfloor heating typically only needs 35 to 45°C to heat a room compared with 60 to 70°C for radiators, the two pair naturally. The Energy Saving Trust notes that pairing a wet underfloor system with a heat pump can be considerably more efficient than running an older boiler through radiators.
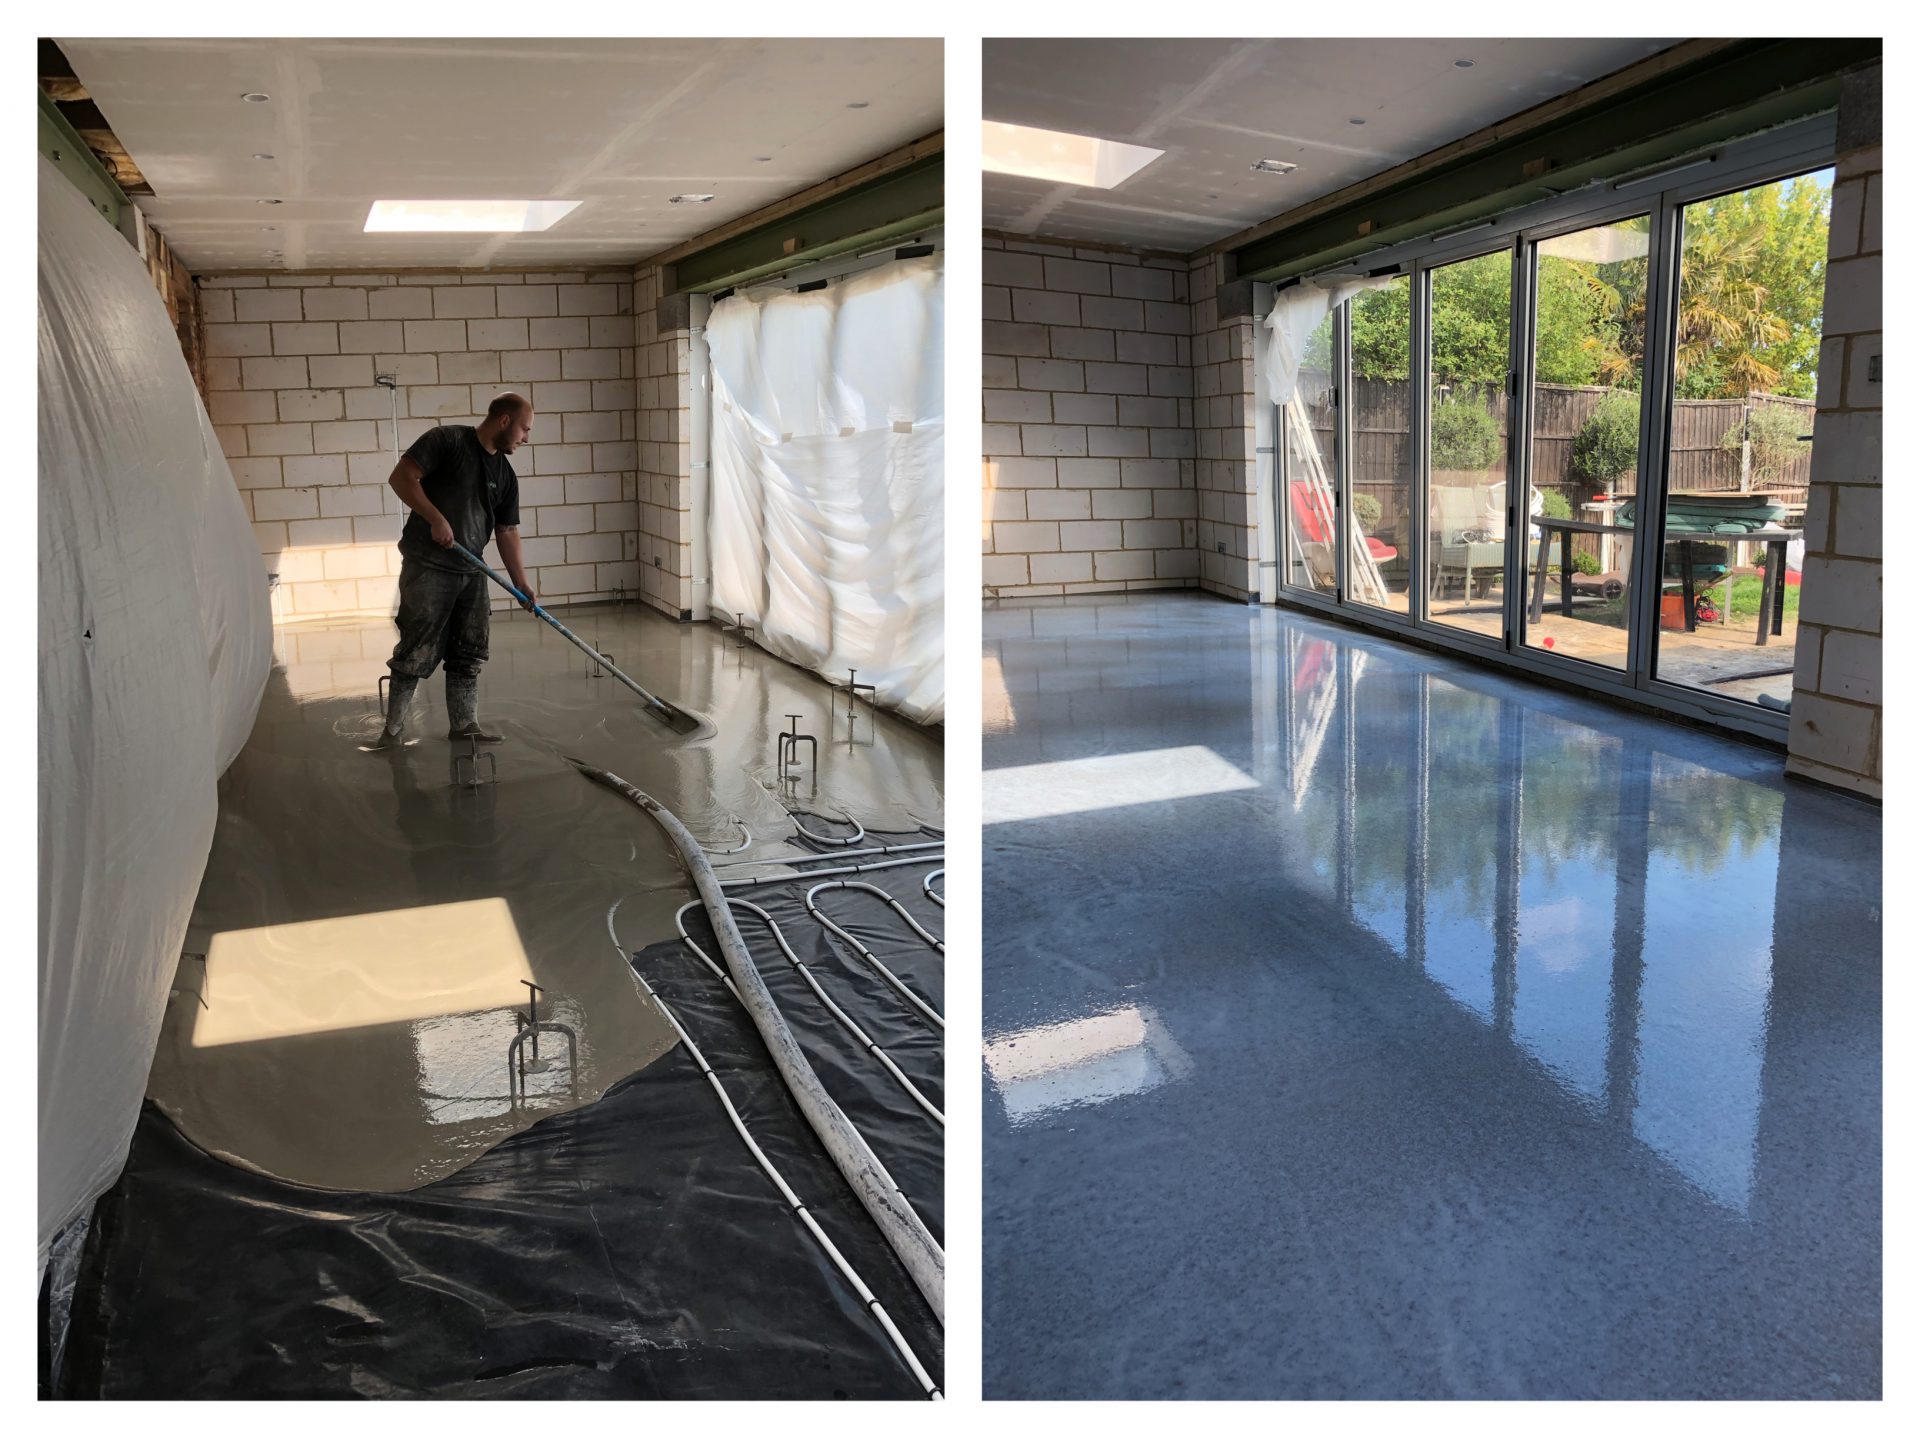
This is where liquid screed comes in. Rather than the pipework being set in a thick, slow drying sand and cement mix, it’s poured around the heating pipes in a thinner, self compacting layer with no voids, giving the system exceptional thermal conductivity of up to 2.9W/m.k. It also dries and can be walked on far sooner, and 100 square metres can be laid in under 45 minutes. For anyone installing underfloor heating as part of a new build or major renovation, that combination of speed, efficiency and a slimmer floor build up is usually the better long term investment.
Is electric underfloor heating worth it?
For a single room, particularly somewhere like a bathroom where you want warm tiles underfoot and don’t want to disturb the rest of your heating system, electric underfloor heating is usually worth it. The lower installation cost and simple retrofit make it an easy win.
For heating a whole floor or property, the higher running cost tends to outweigh the lower install price over time, and a water based system, especially one paired with a heat pump and laid in liquid screed, will usually work out cheaper to live with.
FAQs
Is electric underfloor heating cheaper to run than gas central heating?
No, generally not. Because electricity costs more per unit than gas, running electric underfloor heating as your main heat source usually costs more than a gas boiler feeding radiators or a water underfloor system. It can still work out cost effective for a single room that would otherwise need its own separate heating zone.
Can you have electric underfloor heating with liquid screed?
Liquid screed is most commonly used with water underfloor heating, where it’s poured around the pipework itself. Electric mats and cables are usually installed just beneath the floor covering rather than embedded in screed, though a screeded floor can still be used above an electric system in some builds.
How long does electric underfloor heating take to install?
A straightforward mat installation in a single room can often be completed in a day, though the floor and adhesive need time to cure before you can walk on it or lay tiles. This is usually much quicker than a water system, which involves pipework, a manifold connection and, in most cases, a screed floor that needs time to dry.
Is electric underfloor heating worth it in a UK home?
It’s worth it for smaller spaces like bathrooms, ensuites and kitchens, where the lower installation cost and easy retrofit outweigh the running cost. For whole house heating, most UK homeowners are better served by a water based system, particularly if a heat pump is part of the plan.
What is the difference between electric and water underfloor heating?
Electric systems use a heating cable or mat wired into the mains, are cheaper and quicker to install, and suit single rooms. Water systems circulate warm water through pipes fed by a boiler or heat pump, cost more to install but less to run, and are the usual choice for heating a whole property, particularly when laid within a liquid screed floor.
In short, no, not to a genuine polished concrete finish. Liquid screed, whether it’s a calcium sulphate (anhydrite) mix or a cementitious one, is designed to be a level base for tiles, wood, carpet or another floor covering, not a decorative surface in its own right. Grinding and mechanically polishing it the way you would a concrete slab tends to expose weaker, more porous material underneath and can leave the surface patchy or prone to dusting. If you want that smooth, glossy, exposed floor look, the reliable route is a dedicated polished concrete topping laid over the screed rather than polishing the screed itself.
Why liquid screed isn’t built to be a finished floor
Screed of any kind, liquid or traditional, is what’s known as a wearing or non wearing subfloor layer. It’s formulated to be flat, stable and quick to install, and its finish is deliberately left slightly open and porous so that adhesives, primers and floor coverings key into it properly. That’s the opposite of what you want for a polished surface, which needs a dense, closed material that can take a mechanical grind without breaking down.
Can anhydrite (calcium sulphate) liquid screed be polished
Not really, and it’s generally not worth attempting. Calcium sulphate screed is gypsum based, so it’s softer than a cementitious mix and its natural colour can vary from batch to batch, which makes an even, polished finish hard to guarantee even where the surface can take it. Guidance from Easyflow notes that while a hardener can be applied and the surface mechanically polished, anhydrite screed was never designed to be the final flooring, and covering it with tiling or carpet is usually the more reliable option.
There’s also a practical risk if you try to add a decorative overlay on top instead. Anhydrite and hemihydrite screeds hold onto moisture for longer than cementitious ones, and guidance from Carrcrete points out that trapping that moisture under a bonded topping can lead to delamination further down the line, so any overlay needs the screed properly dried and tested first.
Can cementitious liquid screed be polished
Cementitious liquid screed is closer to concrete in composition, so it holds up better to grinding than an anhydrite mix, but it still isn’t a like for like substitute for polished concrete. Research from British Concrete Polishing found that flow screeds generally aren’t ideal candidates for polishing because the aggregate is much finer than in a structural concrete slab, so grinding it back rarely produces the same depth of finish or aggregate exposure. Some cementitious screeds can be lightly ground and sealed for a smoother, low sheen look, but it’s a job for a specialist who can test the specific product first, since many screeds won’t tolerate more than light grit before the surface starts to fail.
The reliable way to get a polished floor over liquid screed
If the end goal is a genuine polished, glossy floor rather than something to hide under tiles or wood, the better option is a purpose made polished concrete topping installed over the cured screed, rather than trying to polish the screed itself. This is a thin, trowel applied overlay, often laid from around 10mm thick, that’s ground and polished in the same way as a structural concrete floor, giving a consistent, durable, high gloss finish that a raw screed surface simply isn’t formulated to achieve. Our own polished concrete toppings service is designed exactly for this, and can be re-polished multiple times over the life of the floor rather than being a one off finish.
What about sanding or sealing instead
Sanding a liquid screed is sometimes used to knock back high spots or smooth the surface before laying a floor covering, but it’s a corrective step rather than a finishing one. As J&H Lynch’s guide to liquid screed finishes puts it, targeted sanding and specialist sealing can help prepare the base, but polishing isn’t really an option on the raw screed itself. Sealing can offer some protection during the build phase, but on most projects the screed is still intended to be covered rather than left exposed long term.
How to tell what type of screed you have
Since the right approach depends heavily on whether you have an anhydrite or a cementitious mix, it’s worth checking before deciding on a finish. If the screed was installed recently, the contractor should have a record of the exact product used. Cementitious screeds are generally a darker grey and feel harder underfoot, while calcium sulphate screeds tend to be a lighter, more uniform grey and feel slightly softer. If you’re not sure, it’s best to get a specialist to check before grinding, sanding or applying anything to the surface.
Getting the right finish for your floor
If you’re planning a screed and already know you want an exposed, polished result rather than a covered floor, it’s worth specifying that from the outset so the right screed and topping combination gets used, rather than trying to polish a standard liquid screed after the fact. Contact Express Liquid Screeds to talk through your project and whether a liquid screed with a polished concrete topping is the right fit.
FAQs
Can you leave liquid screed as the finished floor without covering it?
It’s possible in some low traffic areas with a cementitious screed and a sealer, but it isn’t what liquid screed is designed for and the finish won’t match a proper polished concrete floor. Most projects still cover the screed with tiling, wood or another final floor finish.
Does polishing liquid screed cost less than a polished concrete topping?
Attempting to polish the screed itself might look cheaper upfront, but the results are inconsistent and can fail early, which often costs more to put right. A proper polished concrete topping is a more predictable and durable route to a genuine polished finish.
Can you polish liquid screed over underfloor heating?
Yes, a polished concrete topping can be applied over a screed installed with underfloor heating, but the screed needs to be fully cured and moisture tested first, and the heating system should follow its usual gradual heat up schedule before any topping work begins.
Will polishing liquid screed remove the trowel marks or texture?
Light grinding can smooth out minor surface texture, but liquid screed isn’t dense enough to take a full mechanical polish without exposing weaker material underneath. A topping system is the more reliable way to get a completely smooth, glossy result.
How do I know if my screed is anhydrite or cementitious?
Check with the original installer if possible, as they’ll have a record of the product used. As a rough guide, cementitious screed is usually darker and feels harder, while anhydrite screed is lighter in colour and slightly softer underfoot, though a specialist assessment is the safest way to confirm it.
Liquid screed is a free flowing, self levelling floor screed that’s pumped into place rather than laid by hand. It’s mixed to a liquid consistency, poured across the subfloor, and left to spread and settle on its own, creating a flat, smooth base ready for tiles, wood, carpet or any other final floor covering. Because it flows and self levels, it’s become the standard choice for anyone installing underfloor heating, and increasingly the go to option for extensions, new builds and renovations more generally.
If you’ve been quoted for a floor and the word screed keeps coming up, or you’re comparing liquid screed against the traditional sand and cement method, this guide covers what liquid screed actually is, how it’s made, how it’s installed, and what it costs so you can go into your project with a clear picture. If you’d rather skip straight to a quote, our liquid screed service page covers the mixes and manufacturers we work with.
What liquid screed is made of
There are two main families of liquid screed. The first is calcium sulphate screed, also called anhydrite screed. It uses a gypsum based binder rather than cement, mixed with fine aggregates, water and flow control additives that let it spread out and level itself once poured. The second is cementitious liquid screed, which still uses a cement binder like traditional screed but is formulated to flow and self level in the same way. Cementitious mixes are the option to reach for in wet areas, bathrooms and anywhere exposed to the elements, since calcium sulphate screed can’t tolerate standing water.
Both types arrive on site ready mixed in a tanker and get pumped through a hose directly to the room being screeded, rather than being mixed by hand and shovelled into place.
Liquid screed vs traditional sand and cement screed
Traditional screed is a stiff, dry mix of sand, cement and water that’s barrowed in, spread with a rake and levelled by hand using a straightedge. It’s a manual, labour intensive job, and because the mix is dense and thick, usually laid around 50mm deep, it dries slowly. Building industry guidance from BS 8204 puts drying at roughly one day per millimetre of thickness for the first 50mm, which means a standard floor can take several weeks before it’s ready for flooring.
Liquid screed is pumped in a liquid state and spreads and compacts itself, which removes the air pockets and voids that hand tamping can leave behind, particularly around underfloor heating pipework. It can also be laid at a thinner depth than a traditional mix while still meeting the same structural requirements, and because there’s less material to dry out, it’s typically ready for light foot traffic within 24 to 48 hours.
The main benefits of liquid screed
Faster installation. A pumped screed can cover a large area in a fraction of the time it takes to hand lay the same floor.
Self levelling finish. The liquid consistency finds its own level, giving a flatter surface with less reliance on manual skill than a hand trowelled screed.
Thinner application. Liquid screed can often be laid at a reduced depth compared with sand and cement, which helps on projects with limited floor build up.
Better heat transfer. Liquid screed sits in closer contact with underfloor heating pipes than a hand compacted screed can, which improves how efficiently the system heats the room.
Fewer joints. Liquid screed can typically be poured across larger continuous areas before a movement joint is needed, reducing weak points in the floor.
Is liquid screed good for underfloor heating
Liquid screed has become closely associated with underfloor heating because it wraps tightly around the pipework with no gaps, giving even, efficient heat distribution across the whole floor. A cementitious or calcium sulphate liquid screed can usually be laid at a shallower depth over the pipes than a traditional mix would need, which matters on renovations where floor height is tight against doorways and stairs. Our underfloor heating team can design and install the system alongside the screed so both are specified to work together.
It’s worth noting that underfloor heating shouldn’t be switched on the moment the screed is poured. Most manufacturers recommend an initial curing period, commonly around seven days, before the heating system is gradually brought up to temperature in small increments to avoid drying the screed out too quickly and causing cracking.
How long does liquid screed take to dry
Drying times depend on the screed type, its depth, and the site conditions, but as a general guide, liquid screed will usually take light foot traffic within 24 to 48 hours of being poured. Getting it dry enough to accept a floor covering takes longer. According to guidance from Clockwork UFH, liquid screed is typically ready for tiling in around 7 days when a compatible primer or adhesive is used, or up to 21 days with a conventional adhesive, while solid wood or laminate flooring usually needs closer to 28 days of drying time.
Good ventilation, a stable room temperature and dehumidifiers can all help the screed dry evenly. Rushing this stage is one of the most common causes of problems with a new floor, so it’s worth checking moisture levels before committing to the final floor covering rather than working to a fixed calendar date. Our liquid screed aftercare guide covers the drying and heat up schedule step by step.
How much does liquid screed cost
Prices vary by region, project size and access, but liquid screed typically costs a bit more per square metre than a basic sand and cement mix, mainly because of the ready mixed material and pump hire involved. Trade pricing data from MyBuilder puts liquid floor screed at roughly £25 to £34 per square metre supply and install, against £20 to £33 per square metre for traditional sand and cement.
That gap tends to narrow, or disappear altogether, once labour and programme time are factored in. Because liquid screed installs so much faster and needs far less manual levelling, the overall cost of a project can end up similar to, or even cheaper than, a traditional screed once you account for reduced site time and fewer delays waiting for the floor to dry.
How liquid screed is installed
On the day, an installer will check the subfloor is clean, level and free of debris, and that any damp proof membrane and edge insulation strips are in place. Our liquid screed preparation guide sets out exactly what needs to be ready before the pump arrives, and our floor preparation service can handle that groundwork for you. The screed arrives ready mixed in a tanker and is pumped through a hose directly into the room, where it’s guided to the correct depth using a levelling tool. Once poured, it self levels and is left undisturbed to begin curing, usually protected from draughts and direct sunlight for the first day or two so it doesn’t dry unevenly.
For most domestic rooms this whole process takes a matter of hours rather than days, which is one of the main reasons liquid screed has become the preferred option for extensions and renovations where time on site is limited.
Is liquid screed the right choice for your project
For anyone installing underfloor heating, liquid screed is generally the more practical option thanks to its even heat distribution and shorter drying window. For smaller, simple areas without underfloor heating, a traditional screed can still make sense, particularly where budget is tight and time isn’t a major constraint. If you’re unsure which is right for your floor, it’s worth getting a specification and quote from a qualified screeding contractor who can assess your subfloor, depth requirements and timeline before you commit. Contact Express Liquid Screeds for a personalised quotation on your project.
FAQs
Is liquid screed better than sand and cement screed?
It depends on the project. Liquid screed installs faster, self levels and generally dries quicker, which makes it the better fit for underfloor heating and time sensitive builds. Traditional sand and cement can still be the more economical choice for small, simple areas without underfloor heating.
Can liquid screed be used outside?
Calcium sulphate (anhydrite) screed can’t be used in wet or exposed areas because it isn’t water resistant once cured. A cementitious liquid screed can tolerate damp or external conditions, so that’s the type to specify for outdoor spaces, balconies or wet rooms.
How thick does liquid screed need to be?
Depth depends on whether underfloor heating is involved and what the floor will be used for, but liquid screed can often be laid thinner than a traditional mix while still meeting the same performance requirements. A screeding contractor will confirm the minimum depth for your specific subfloor and heating pipe diameter.
Does liquid screed crack?
Liquid screed has a lower shrinkage rate than traditional screed, which makes cracking less common, but it can still crack if it dries too quickly, isn’t given a proper curing period, or if underfloor heating is switched on too early. Following the manufacturer’s drying and heat up schedule is the best way to avoid it.
How soon can you walk on liquid screed?
Most liquid screeds take light foot traffic within 24 to 48 hours of being poured, though the floor needs considerably longer than that, often several weeks depending on the final floor covering, before it’s fully dry and ready to be covered.