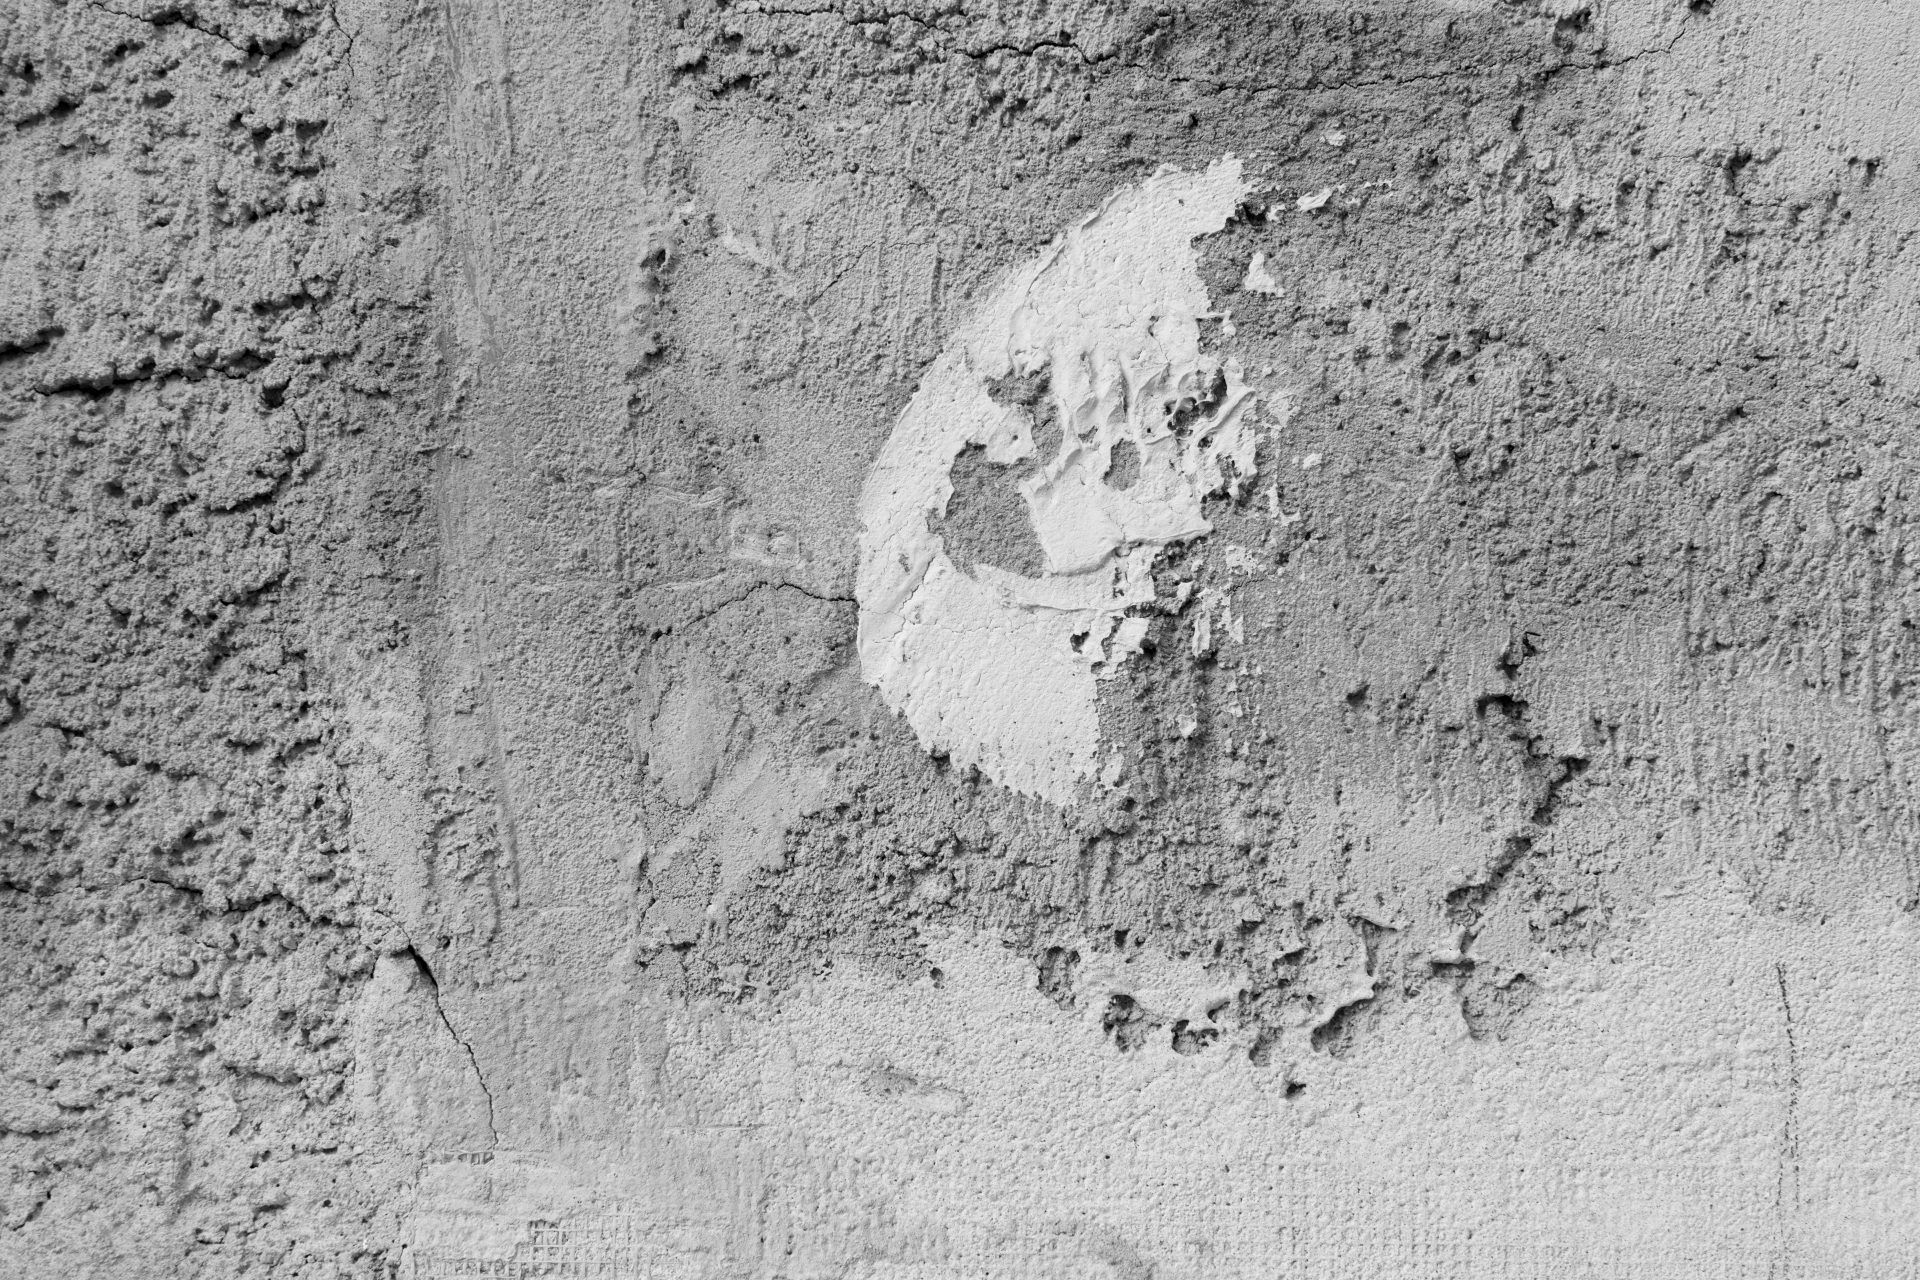
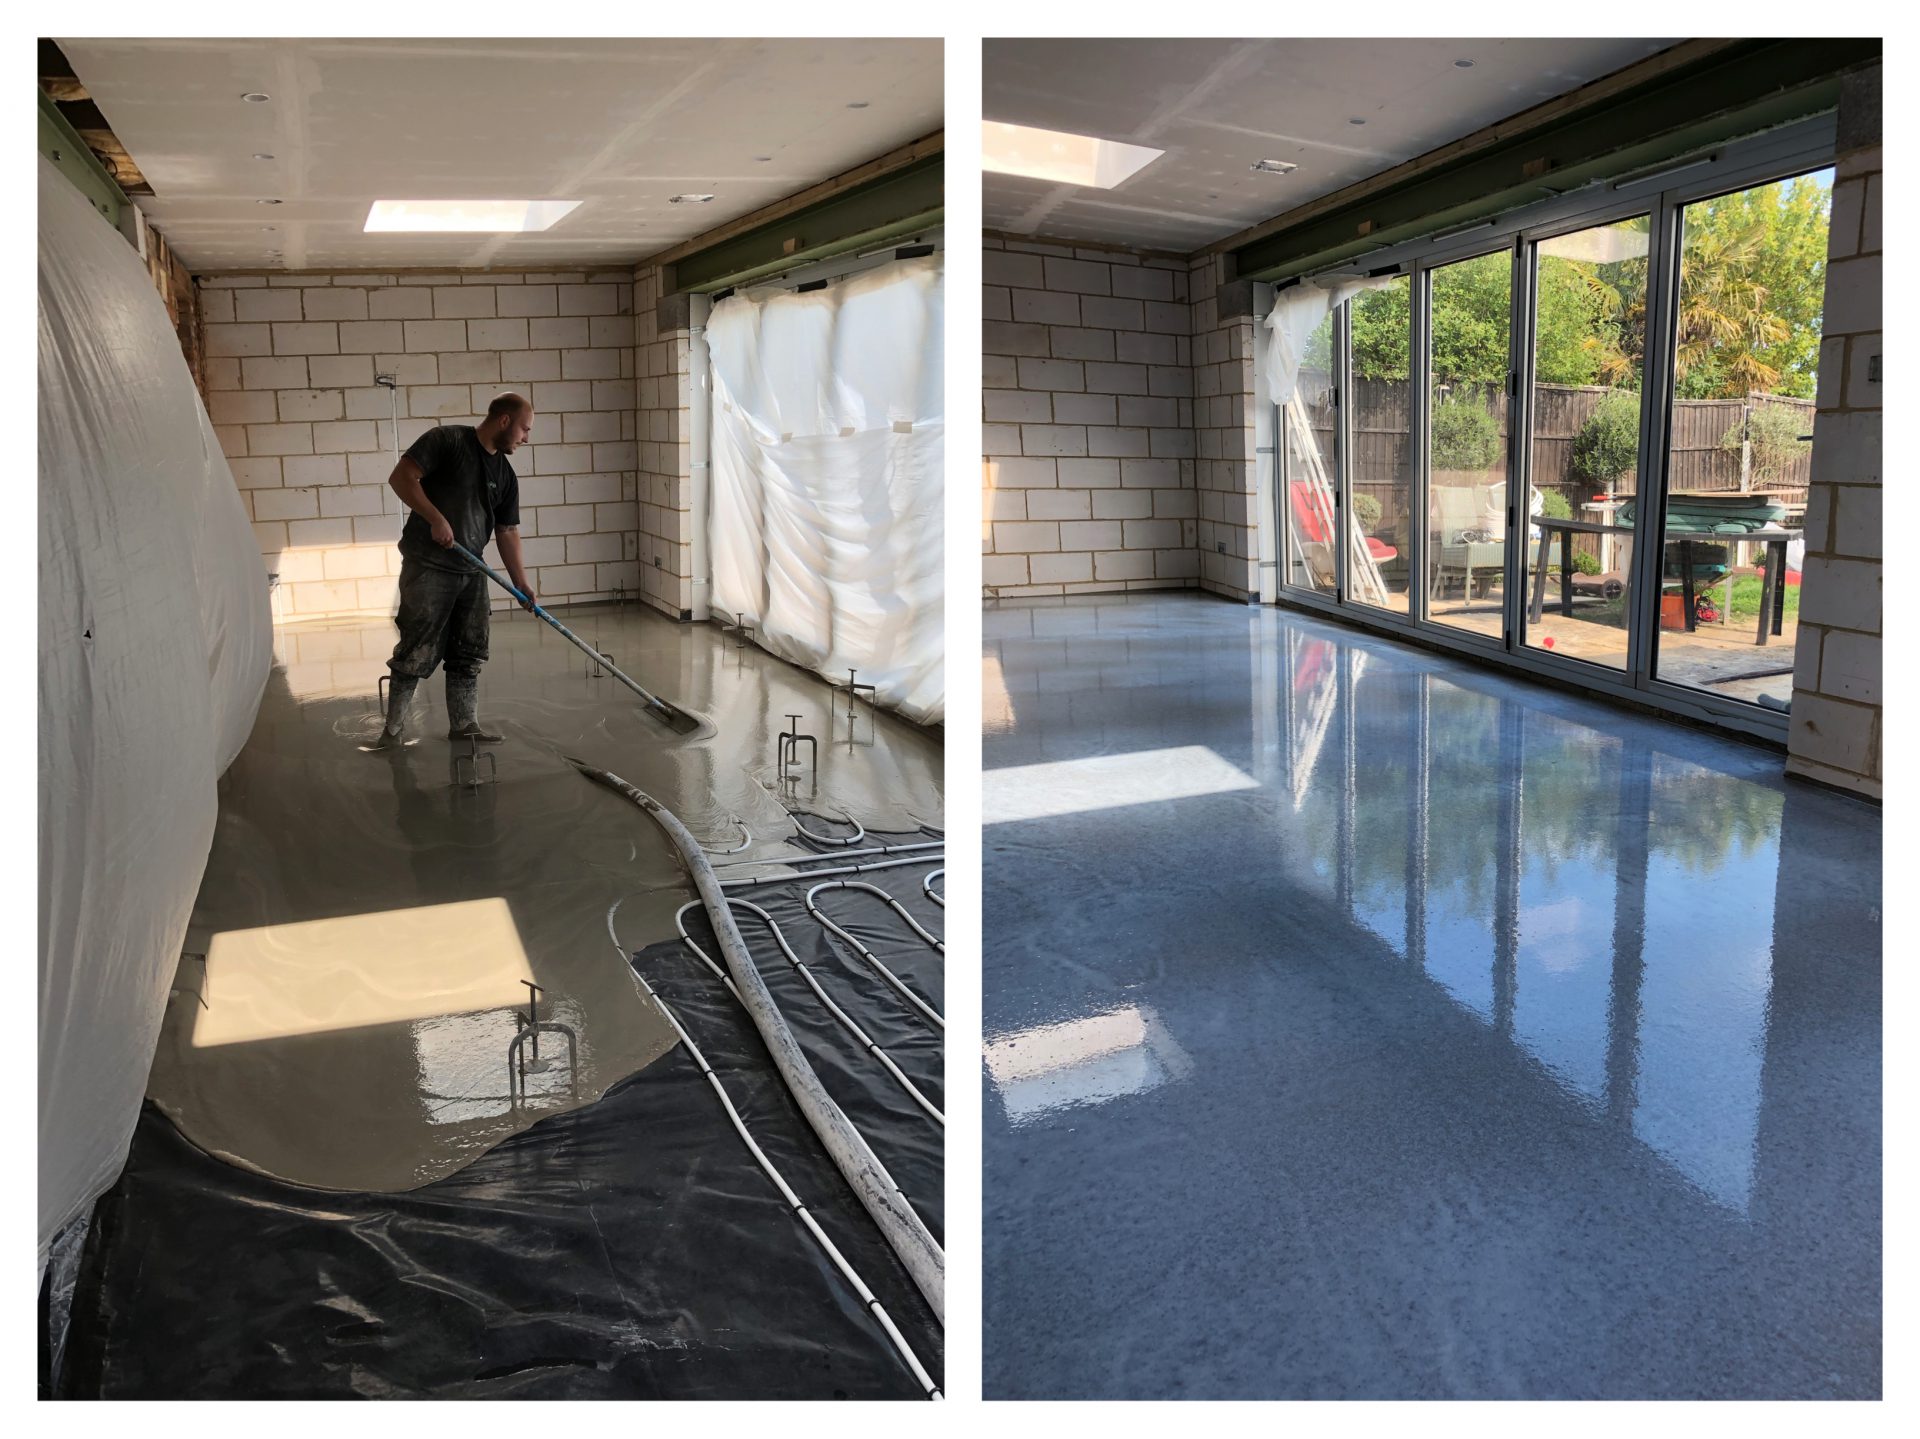
Concrete laitance is the thin, weak layer of cement fines and water that rises to the surface of concrete or screed as it cures. It forms when mixing water works its way upward through the mix and carries the finest, weakest particles with it, leaving a pale, powdery skin sitting on top of the sound concrete underneath. Left in place, it will not bond properly with adhesives, coatings or floor coverings, which is why removing it is one of the first jobs on any floor preparation schedule.
It catches out a lot of self builders and even some contractors because a freshly finished slab or screed can look perfectly smooth and ready to go. The problem only shows up once tiles start lifting, a resin coating blisters, or a polished topping fails to key in. Understanding why laitance forms makes it much easier to spot early and deal with properly.
What Is Concrete Laitance?
Laitance is a layer of hydrated cement and fine aggregate particles, usually pale grey or white, sitting on the surface of a poured floor. It is soft and friable, meaning it can be scraped away with a fingernail or the edge of a screwdriver, and it ranges from a fine dust you can barely see to a crust several millimetres thick depending on how the concrete was mixed, placed and finished.
The same thing happens on flowing screeds, not just traditional poured concrete. Anyone installing a liquid screed or a flowing concrete floor deals with the same weak surface layer once the pour has cured, and it has to come off before any bonded floor covering goes down on top.
How Does Laitance Form?
Bleed Water Does the Damage
Laitance starts with bleeding. As the Concrete Society explains, bleeding happens because of the inability of the solid components of the concrete to hold all of the mixing water, so the excess water rises to the top before the cement paste has stiffened enough to trap it in place. Because water is the lightest part of the mix, it carries the finest, least dense particles of cement and sand up with it as it travels.
Once that bleed water reaches the surface and evaporates, or gets worked back into the concrete during finishing, it leaves behind a concentrated layer of weak cement paste with a much higher water to cement ratio than the floor underneath. That weak layer is laitance.
What Makes It Worse
Several things make bleeding, and therefore laitance, more likely or more severe. An overly wet mix is the biggest culprit, since more mixing water simply means more water available to rise. Over trowelling or finishing the surface too early has the same effect. The Concrete Society notes that if the bleed water is remixed during the finishing of the top surface, a weak top surface will result, which is exactly the mechanism behind laitance and the dusting that often goes with it.
Cold, humid conditions can cause condensation on the surface that gets trowelled straight into the mix, and certain cements, particularly those blended with ground granulated blastfurnace slag, extend the bleeding period because they set more slowly. On outdoor pours, rain hitting the surface before it has cured adds even more water into the mix at exactly the wrong moment. Any of these will leave a thicker, more troublesome layer of laitance to deal with once the floor has gone off.
How to Spot Laitance Before It Causes a Problem
Laitance usually shows up as a pale, dusty or matt patch on an otherwise darker floor, often worst at low points where water pooled during the pour. It will powder under foot traffic and mark easily if you sweep or scuff it, and the simplest test is to scratch the surface with a screwdriver or similar tool. If it scrapes away easily down to a harder, more consistent material underneath, that confirms laitance rather than sound concrete.
Why It Has to Come Off Before You Fit a Floor Covering
Any adhesive, primer, resin coating or polished finish needs to bond to strong, consistent material. Laitance sits between the covering and the structural floor as a weak, powdery interface, so floor coverings applied over it commonly delaminate once the floor is in use, because the bond is only ever as strong as the weakest layer. This applies whether the finish going on top is tiling, a resin system, or a polished concrete topping, all of which rely on a sound, mechanically keyed surface to grip onto.
How Laitance Is Removed
The right method depends on the thickness of the layer, the size of the area and what is going down afterwards. On standard screeds and slabs, it is generally worth allowing four to seven days of curing before removal work starts, giving the floor time to gain enough strength that preparation does not damage the surface underneath.
For most residential and commercial floors, diamond grinding or sanding is the standard approach. Fitted with a triple diamond cup disc and run alongside a high powered extraction unit, a low speed sanding machine will cut back the weak surface layer and leave a clean, mechanically keyed finish, usually within a day for most sized rooms. Larger commercial areas are often better suited to shot blasting, which fires steel shot at the surface to strip laitance quickly across bigger floor plates. Thicker or more stubborn deposits sometimes need scabbling with compressed air tools, and acid etching is generally kept as a last resort for thin laitance on floors where mechanical methods are not practical.
Whichever method is used, the dust produced during grinding and sanding contains respirable crystalline silica, and the HSE is clear that exposure needs to be controlled with on tool extraction, damping down where appropriate, and properly fitted P3 rated masks for anyone working nearby. Sealed dust collection rather than letting it settle around the site is worth insisting on if you are bringing in a contractor for this work.
Concrete Laitance vs Efflorescence
The two are often confused because both leave a pale mark on a concrete surface, but they are different problems with different fixes. Laitance is a mechanical layer of weak cement paste left behind by bleed water during curing, and it needs to be ground or blasted off before you can bond anything to the floor. Efflorescence is a white, crystalline deposit of soluble salts, usually calcium carbonate, that forms later as moisture moves through the concrete and evaporates at the surface, leaving the salts behind. It tends to appear well after the floor has cured and is usually dealt with by brushing or a light acid wash rather than full mechanical removal, and it points to a moisture issue rather than a finishing problem.
Preventing Laitance Before It Starts
Prevention comes down to controlling water and timing. Using the correct water to cement ratio, avoiding on site additions of extra water to make a mix easier to place, and holding off on finishing until bleed water has stopped rising and evaporated all reduce the amount of laitance that forms. Proper curing afterwards, whether with a curing compound or a covering of wet hessian or plastic sheet, produces a stronger, more abrasion resistant surface with far less dusting. This is easier to get right when the pour is being managed by an installer who is controlling mix design and finishing on site rather than leaving it to chance, which is exactly why getting the floor preparation stage right from the outset saves time and cost later on.
If you are planning tiling, a resin floor, or a polished topping over a new screed or slab, it is worth having the surface checked for laitance before any finish goes anywhere near it. Removing it properly the first time is far cheaper than lifting a failed floor covering later and starting again.
FAQs
How do I know if my concrete floor has laitance?
Look for pale, dusty or matt patches, especially at low spots where water would have pooled during the pour. Scratch the surface with a screwdriver. If it scrapes away easily to reveal harder, more consistent material underneath, that is laitance rather than sound concrete.
Is laitance the same as efflorescence?
No. Laitance is a weak layer of cement paste left by bleed water during curing and needs mechanical removal. Efflorescence is a crystalline salt deposit that appears later as moisture evaporates from the surface, and it usually needs only brushing or a light acid wash.
How long should concrete or screed cure before removing laitance?
As a general guide, standard screeds and slabs benefit from four to seven days of curing before laitance removal begins, so the floor has gained enough strength to withstand grinding or sanding without further damage. Skin free or low laitance products are handled differently and are often sanded immediately before floor coverings are applied.
Can I remove laitance myself?
Light laitance on a small area can sometimes be dealt with using a hand held grinder, but the dust produced contains respirable crystalline silica, so proper extraction and a P3 rated mask are essential. For larger areas, or where a covering needs a reliably flat, evenly prepared surface, a professional using diamond grinding or shot blasting equipment with dust extraction will give a more consistent result and a safer working environment.
Does laitance matter if I am installing underfloor heating?
Yes. A screed laid over underfloor heating pipework still develops a weak surface layer as it cures, and any floor finish going on top of it needs the same sound, laitance free surface to bond to. Skipping preparation risks the same delamination problems regardless of what is running underneath the floor.
In short, no, not to a genuine polished concrete finish. Liquid screed, whether it’s a calcium sulphate (anhydrite) mix or a cementitious one, is designed to be a level base for tiles, wood, carpet or another floor covering, not a decorative surface in its own right. Grinding and mechanically polishing it the way you would a concrete slab tends to expose weaker, more porous material underneath and can leave the surface patchy or prone to dusting. If you want that smooth, glossy, exposed floor look, the reliable route is a dedicated polished concrete topping laid over the screed rather than polishing the screed itself.
Why liquid screed isn’t built to be a finished floor
Screed of any kind, liquid or traditional, is what’s known as a wearing or non wearing subfloor layer. It’s formulated to be flat, stable and quick to install, and its finish is deliberately left slightly open and porous so that adhesives, primers and floor coverings key into it properly. That’s the opposite of what you want for a polished surface, which needs a dense, closed material that can take a mechanical grind without breaking down.
Can anhydrite (calcium sulphate) liquid screed be polished
Not really, and it’s generally not worth attempting. Calcium sulphate screed is gypsum based, so it’s softer than a cementitious mix and its natural colour can vary from batch to batch, which makes an even, polished finish hard to guarantee even where the surface can take it. Guidance from Easyflow notes that while a hardener can be applied and the surface mechanically polished, anhydrite screed was never designed to be the final flooring, and covering it with tiling or carpet is usually the more reliable option.
There’s also a practical risk if you try to add a decorative overlay on top instead. Anhydrite and hemihydrite screeds hold onto moisture for longer than cementitious ones, and guidance from Carrcrete points out that trapping that moisture under a bonded topping can lead to delamination further down the line, so any overlay needs the screed properly dried and tested first.
Can cementitious liquid screed be polished
Cementitious liquid screed is closer to concrete in composition, so it holds up better to grinding than an anhydrite mix, but it still isn’t a like for like substitute for polished concrete. Research from British Concrete Polishing found that flow screeds generally aren’t ideal candidates for polishing because the aggregate is much finer than in a structural concrete slab, so grinding it back rarely produces the same depth of finish or aggregate exposure. Some cementitious screeds can be lightly ground and sealed for a smoother, low sheen look, but it’s a job for a specialist who can test the specific product first, since many screeds won’t tolerate more than light grit before the surface starts to fail.
The reliable way to get a polished floor over liquid screed
If the end goal is a genuine polished, glossy floor rather than something to hide under tiles or wood, the better option is a purpose made polished concrete topping installed over the cured screed, rather than trying to polish the screed itself. This is a thin, trowel applied overlay, often laid from around 10mm thick, that’s ground and polished in the same way as a structural concrete floor, giving a consistent, durable, high gloss finish that a raw screed surface simply isn’t formulated to achieve. Our own polished concrete toppings service is designed exactly for this, and can be re-polished multiple times over the life of the floor rather than being a one off finish.
What about sanding or sealing instead
Sanding a liquid screed is sometimes used to knock back high spots or smooth the surface before laying a floor covering, but it’s a corrective step rather than a finishing one. As J&H Lynch’s guide to liquid screed finishes puts it, targeted sanding and specialist sealing can help prepare the base, but polishing isn’t really an option on the raw screed itself. Sealing can offer some protection during the build phase, but on most projects the screed is still intended to be covered rather than left exposed long term.
How to tell what type of screed you have
Since the right approach depends heavily on whether you have an anhydrite or a cementitious mix, it’s worth checking before deciding on a finish. If the screed was installed recently, the contractor should have a record of the exact product used. Cementitious screeds are generally a darker grey and feel harder underfoot, while calcium sulphate screeds tend to be a lighter, more uniform grey and feel slightly softer. If you’re not sure, it’s best to get a specialist to check before grinding, sanding or applying anything to the surface.
Getting the right finish for your floor
If you’re planning a screed and already know you want an exposed, polished result rather than a covered floor, it’s worth specifying that from the outset so the right screed and topping combination gets used, rather than trying to polish a standard liquid screed after the fact. Contact Express Liquid Screeds to talk through your project and whether a liquid screed with a polished concrete topping is the right fit.
FAQs
Can you leave liquid screed as the finished floor without covering it?
It’s possible in some low traffic areas with a cementitious screed and a sealer, but it isn’t what liquid screed is designed for and the finish won’t match a proper polished concrete floor. Most projects still cover the screed with tiling, wood or another final floor finish.
Does polishing liquid screed cost less than a polished concrete topping?
Attempting to polish the screed itself might look cheaper upfront, but the results are inconsistent and can fail early, which often costs more to put right. A proper polished concrete topping is a more predictable and durable route to a genuine polished finish.
Can you polish liquid screed over underfloor heating?
Yes, a polished concrete topping can be applied over a screed installed with underfloor heating, but the screed needs to be fully cured and moisture tested first, and the heating system should follow its usual gradual heat up schedule before any topping work begins.
Will polishing liquid screed remove the trowel marks or texture?
Light grinding can smooth out minor surface texture, but liquid screed isn’t dense enough to take a full mechanical polish without exposing weaker material underneath. A topping system is the more reliable way to get a completely smooth, glossy result.
How do I know if my screed is anhydrite or cementitious?
Check with the original installer if possible, as they’ll have a record of the product used. As a rough guide, cementitious screed is usually darker and feels harder, while anhydrite screed is lighter in colour and slightly softer underfoot, though a specialist assessment is the safest way to confirm it.
Liquid screed is a free flowing, self levelling floor screed that’s pumped into place rather than laid by hand. It’s mixed to a liquid consistency, poured across the subfloor, and left to spread and settle on its own, creating a flat, smooth base ready for tiles, wood, carpet or any other final floor covering. Because it flows and self levels, it’s become the standard choice for anyone installing underfloor heating, and increasingly the go to option for extensions, new builds and renovations more generally.
If you’ve been quoted for a floor and the word screed keeps coming up, or you’re comparing liquid screed against the traditional sand and cement method, this guide covers what liquid screed actually is, how it’s made, how it’s installed, and what it costs so you can go into your project with a clear picture. If you’d rather skip straight to a quote, our liquid screed service page covers the mixes and manufacturers we work with.
What liquid screed is made of
There are two main families of liquid screed. The first is calcium sulphate screed, also called anhydrite screed. It uses a gypsum based binder rather than cement, mixed with fine aggregates, water and flow control additives that let it spread out and level itself once poured. The second is cementitious liquid screed, which still uses a cement binder like traditional screed but is formulated to flow and self level in the same way. Cementitious mixes are the option to reach for in wet areas, bathrooms and anywhere exposed to the elements, since calcium sulphate screed can’t tolerate standing water.
Both types arrive on site ready mixed in a tanker and get pumped through a hose directly to the room being screeded, rather than being mixed by hand and shovelled into place.
Liquid screed vs traditional sand and cement screed
Traditional screed is a stiff, dry mix of sand, cement and water that’s barrowed in, spread with a rake and levelled by hand using a straightedge. It’s a manual, labour intensive job, and because the mix is dense and thick, usually laid around 50mm deep, it dries slowly. Building industry guidance from BS 8204 puts drying at roughly one day per millimetre of thickness for the first 50mm, which means a standard floor can take several weeks before it’s ready for flooring.
Liquid screed is pumped in a liquid state and spreads and compacts itself, which removes the air pockets and voids that hand tamping can leave behind, particularly around underfloor heating pipework. It can also be laid at a thinner depth than a traditional mix while still meeting the same structural requirements, and because there’s less material to dry out, it’s typically ready for light foot traffic within 24 to 48 hours.
The main benefits of liquid screed
Faster installation. A pumped screed can cover a large area in a fraction of the time it takes to hand lay the same floor.
Self levelling finish. The liquid consistency finds its own level, giving a flatter surface with less reliance on manual skill than a hand trowelled screed.
Thinner application. Liquid screed can often be laid at a reduced depth compared with sand and cement, which helps on projects with limited floor build up.
Better heat transfer. Liquid screed sits in closer contact with underfloor heating pipes than a hand compacted screed can, which improves how efficiently the system heats the room.
Fewer joints. Liquid screed can typically be poured across larger continuous areas before a movement joint is needed, reducing weak points in the floor.
Is liquid screed good for underfloor heating
Liquid screed has become closely associated with underfloor heating because it wraps tightly around the pipework with no gaps, giving even, efficient heat distribution across the whole floor. A cementitious or calcium sulphate liquid screed can usually be laid at a shallower depth over the pipes than a traditional mix would need, which matters on renovations where floor height is tight against doorways and stairs. Our underfloor heating team can design and install the system alongside the screed so both are specified to work together.
It’s worth noting that underfloor heating shouldn’t be switched on the moment the screed is poured. Most manufacturers recommend an initial curing period, commonly around seven days, before the heating system is gradually brought up to temperature in small increments to avoid drying the screed out too quickly and causing cracking.
How long does liquid screed take to dry
Drying times depend on the screed type, its depth, and the site conditions, but as a general guide, liquid screed will usually take light foot traffic within 24 to 48 hours of being poured. Getting it dry enough to accept a floor covering takes longer. According to guidance from Clockwork UFH, liquid screed is typically ready for tiling in around 7 days when a compatible primer or adhesive is used, or up to 21 days with a conventional adhesive, while solid wood or laminate flooring usually needs closer to 28 days of drying time.
Good ventilation, a stable room temperature and dehumidifiers can all help the screed dry evenly. Rushing this stage is one of the most common causes of problems with a new floor, so it’s worth checking moisture levels before committing to the final floor covering rather than working to a fixed calendar date. Our liquid screed aftercare guide covers the drying and heat up schedule step by step.
How much does liquid screed cost
Prices vary by region, project size and access, but liquid screed typically costs a bit more per square metre than a basic sand and cement mix, mainly because of the ready mixed material and pump hire involved. Trade pricing data from MyBuilder puts liquid floor screed at roughly £25 to £34 per square metre supply and install, against £20 to £33 per square metre for traditional sand and cement.
That gap tends to narrow, or disappear altogether, once labour and programme time are factored in. Because liquid screed installs so much faster and needs far less manual levelling, the overall cost of a project can end up similar to, or even cheaper than, a traditional screed once you account for reduced site time and fewer delays waiting for the floor to dry.
How liquid screed is installed
On the day, an installer will check the subfloor is clean, level and free of debris, and that any damp proof membrane and edge insulation strips are in place. Our liquid screed preparation guide sets out exactly what needs to be ready before the pump arrives, and our floor preparation service can handle that groundwork for you. The screed arrives ready mixed in a tanker and is pumped through a hose directly into the room, where it’s guided to the correct depth using a levelling tool. Once poured, it self levels and is left undisturbed to begin curing, usually protected from draughts and direct sunlight for the first day or two so it doesn’t dry unevenly.
For most domestic rooms this whole process takes a matter of hours rather than days, which is one of the main reasons liquid screed has become the preferred option for extensions and renovations where time on site is limited.
Is liquid screed the right choice for your project
For anyone installing underfloor heating, liquid screed is generally the more practical option thanks to its even heat distribution and shorter drying window. For smaller, simple areas without underfloor heating, a traditional screed can still make sense, particularly where budget is tight and time isn’t a major constraint. If you’re unsure which is right for your floor, it’s worth getting a specification and quote from a qualified screeding contractor who can assess your subfloor, depth requirements and timeline before you commit. Contact Express Liquid Screeds for a personalised quotation on your project.
FAQs
Is liquid screed better than sand and cement screed?
It depends on the project. Liquid screed installs faster, self levels and generally dries quicker, which makes it the better fit for underfloor heating and time sensitive builds. Traditional sand and cement can still be the more economical choice for small, simple areas without underfloor heating.
Can liquid screed be used outside?
Calcium sulphate (anhydrite) screed can’t be used in wet or exposed areas because it isn’t water resistant once cured. A cementitious liquid screed can tolerate damp or external conditions, so that’s the type to specify for outdoor spaces, balconies or wet rooms.
How thick does liquid screed need to be?
Depth depends on whether underfloor heating is involved and what the floor will be used for, but liquid screed can often be laid thinner than a traditional mix while still meeting the same performance requirements. A screeding contractor will confirm the minimum depth for your specific subfloor and heating pipe diameter.
Does liquid screed crack?
Liquid screed has a lower shrinkage rate than traditional screed, which makes cracking less common, but it can still crack if it dries too quickly, isn’t given a proper curing period, or if underfloor heating is switched on too early. Following the manufacturer’s drying and heat up schedule is the best way to avoid it.
How soon can you walk on liquid screed?
Most liquid screeds take light foot traffic within 24 to 48 hours of being poured, though the floor needs considerably longer than that, often several weeks depending on the final floor covering, before it’s fully dry and ready to be covered.